In a nutshell
- 🌱 Avocado pit polish works via natural tannins for warm tone, polymerising oils for a protective film, and a wax-stabilised, breathable finish that enhances wood grain without plastic gloss.
- 🧪 Simple method: dry and grind the pit, infuse into walnut or linseed oil, blend with beeswax, then apply thin coats and cure 12–24 hours between layers; patch-test and choose food-safe oils for boards.
- ⚖️ Pros vs. cons: upcycles waste, low odour, and a satin sheen, but slower build, potential rancidity if stored warm, and mild colour shift on pale woods; heavy-duty jobs may need hardwax oil or varnish.
- 🧰 Bench test: oak table, beech board, and softwood shelf gained a silky, low-sheen finish and better water beading; care routine is monthly then quarterly for furniture, 2–4 weeks for boards, with cool storage for the balm.
- 🚫 Practical limits and safety: avoid floors and glossy factory finishes, keep coats light, and consider allergies (use high-oleic sunflower oil if needed); the result is honest-looking wood with tactile, enduring character.
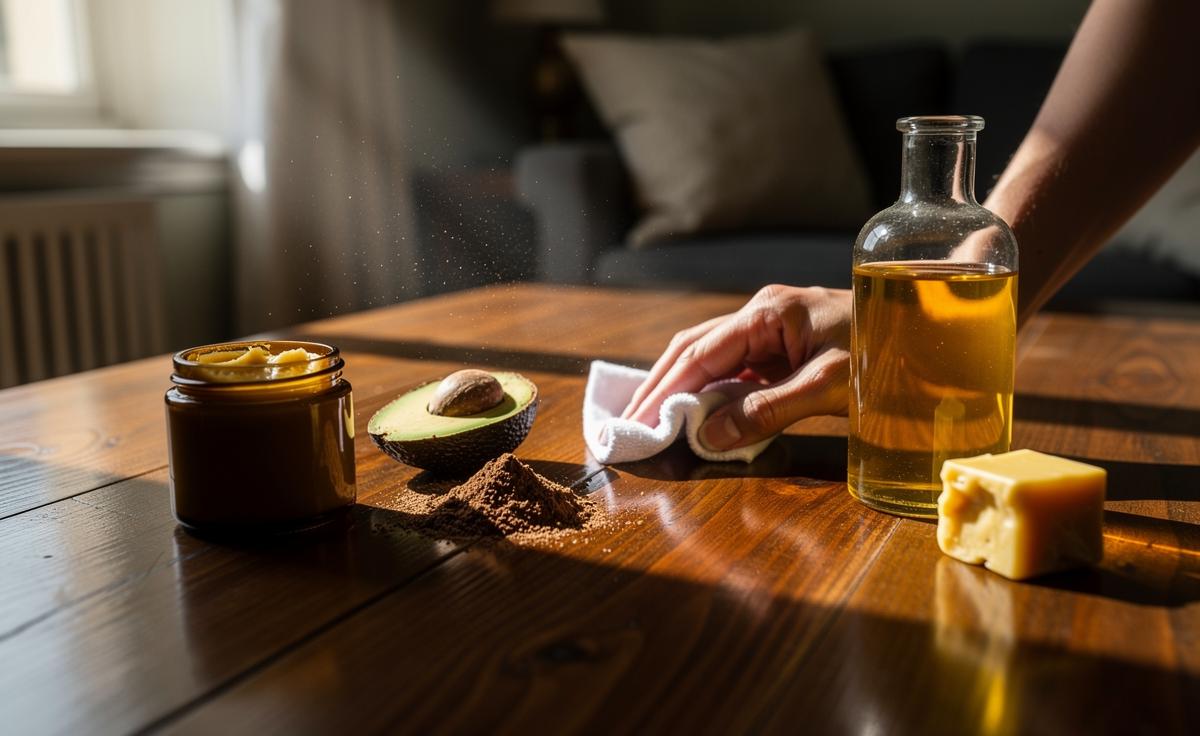
There’s a quiet thrill in turning leftovers into longevity. The humblest of kitchen scraps—the avocado pit—can be transformed into a richly scented polish that coaxes a warm glow from tired wooden surfaces. As households across the UK look to cut waste while caring for cherished furniture, a zero-waste, natural oils-based polish offers both thrift and theatre. I tested a handful of recipes in a North London flat, from side tables to chopping boards, and found that a pit-driven infusion brings subtle colour correction, gentle conditioning, and a protective sheen. Always work small, patch-test, and let layers cure: that slow, careful rhythm is the difference between sticky and spectacular.
What Makes Avocado Pit Polish Work
At the heart of this polish is a quiet chemistry lesson. The pit’s fine, reddish powder carries tannins—natural compounds that can slightly deepen tone—while the oil phase (often a blend of light carrier oils and wax) feeds parched fibres. When you buff the mixture across the grain, microscopic residue fills hairline scratches and polymerising oils begin to cure, forming a protective film. This isn’t a thick varnish; it’s a breathable, low-build treatment that enhances grain rather than burying it.
While the pit alone is not especially oily, it contributes colour warmth and a mild abrasive quality when ground ultra-fine. Pair it with a light-curing base—such as cold-pressed linseed (flaxseed) oil or refined walnut oil—and a touch of beeswax to stabilise sheen. The wax boosts scuff resistance and makes buffing plug-and-play for beginners. Compared with silicone-laced aerosol sprays that promise instant gloss, a pit polish leans into patience. Give it 12–24 hours between coats, then buff to a satin that looks like wood, not plastic. The reward is a finish that feels honest under the hand and ages gracefully.
Step-by-Step: From Kitchen Waste to Wood Polish
The kit is modest: one clean, dried avocado pit; 150 ml of light-curing oil (refined walnut oil for food-contact or raw linseed oil for furniture); 15–20 g of beeswax; and a lint-free cloth. Choose food-safe oils if you’re treating chopping boards or utensils. A small, lidded jar and a heat-safe bowl or bain-marie will keep things tidy and safe.
Method overview:
- Dry the pit for 48–72 hours, then grate or grind to a fine powder. The finer the grind, the smoother the gloss.
- Warm the oil gently and add 1–2 teaspoons of pit powder. Keep below 65°C; you’re infusing, not frying.
- Steep for 30 minutes, strain through fine cloth or filter paper, then melt in the beeswax until fully blended.
- Let cool to a soft balm. Apply a pea-sized amount per 20×20 cm area, working with the grain.
- Wait 20 minutes; buff dry. Allow 12–24 hours to cure before the next coat.
Application tips: For high-traffic tabletops, two light coats beat one heavy application. If the surface turns tacky, you’ve over-applied—wipe with a cloth lightly moistened with white spirit (for non-food items) and rebuff. Always patch-test on a hidden area first to check for colour shift on pale woods like maple or ash.
Pros vs. Cons Compared With Common Alternatives
Natural doesn’t automatically mean better, but it often means kinder—to wood, to noses, to waste bins. Here’s a quick comparison to situate avocado pit polish in the real world of choices.
| Polish/Oil | Protection | Drying/Curing | Food-Contact Friendly | Notes |
|---|---|---|---|---|
| Avocado Pit + Walnut Oil + Beeswax | Light–moderate | 12–24 h per coat | Yes | Warm tone, low odour; seasonal upkeep |
| Raw Linseed Oil | Moderate | Slow (days) | Yes | Classic look; can yellow slightly |
| Boiled Linseed Oil | Moderate–high | Faster (hours) | No | Contains dryers; not for boards |
| Mineral Oil | Light | No cure | Yes | Easy but short-lived; no film build |
Pros of the pit polish: upcycles waste, creates a satin, tactile sheen, and supports a gentle maintenance routine. Cons: slower to build protection, potential for rancidity if the oil is poor-quality or stored warm, and subtle colouration that may not suit very pale wood. Why “natural” isn’t always better: if you need heavy-duty spill protection, a hardwax oil or varnish will outperform a soft balm. Still, for bookcases, frames, and occasional tables, the pit polish earns its place.
A Reporter’s Bench Test and Care Routine
Over three months, I treated three surfaces—a reclaimed oak side table, a beech chopping board, and a softwood shelf—using a pit–walnut–beeswax blend. Results: the oak took on a mellow, café-honed glow; the shelf lost its chalky dryness; the board resisted water rings for about 45 minutes before beading diminished. Light, regular care beat one heavy overhaul every time.
Practical takeaways:
- Furniture: One coat per month for the first quarter, then quarterly. Buff firmly for a silky, low-sheen finish.
- Boards and utensils: Micro-coats every 2–4 weeks. Wipe dry immediately after washing; avoid soaking.
- Storage: Keep the balm in a cool cupboard. If you smell sour notes, discard and make fresh.
- Allergy note: If nut oils are a concern, sub in high-oleic sunflower oil; protection drops slightly but odour stays mild.
Story-wise, the most charming shift was tactile: the oak table felt less like a museum piece and more like a welcome. No slick residue, no plastic glare—just grain that speaks. Don’t use this polish on floors or glossy factory finishes; it will reduce slip resistance or smear. For the rest, it’s a small habit that makes wood feel alive again.
In a cost-of-living era, frugality and aesthetics needn’t quarrel. A single avocado pit, a dash of natural oils, and a spoon of wax can restore mood as much as furniture. The method is unfussy, the maintenance gentle, and the finish authentically woody rather than lacquered. Treat polish as care, not camouflage: you’re feeding fibres and inviting light back into the grain. If you try this at home, what piece will you revive first—and which small ritual will you build around keeping it glowing?
Did you like it?4.5/5 (25)